Making, tinkering and repairing are a core part of who I am.
I was lucky enough to spend a lot of my childhood making all sorts of things: many at-home crafts with popsicle sticks with my mom; Lego Mindstorms robots in early school competitions; building dioramas and tabletop game landscapes out of packing foam with my dad.
In my teenage years, I got used to simple tools through woodshop classes and helping with at-home chores, maintenance and renovations.
In university I practiced the basic skills necessary to work with electrical components (e.g. lights, sensors, connectors). I further practiced my software skills to create a custom portfolio page and some single-purpose web apps using Java. I also built (and re-built) a desktop PC multiple times.
All of these experiences have lead me to take great satisfaction out of the process of creating practical items.
More recently, I have gotten into different hobbies that build on these skills. Below are pictures of my current hobbies:
- Woodworking: Making small furniture has been therapeutic, letting me practice with tools, drawing and 3D modelling techniques I haven’t used in a long time.
- Terrariums: Creating terrariums out of re-purposed objects and antiques has helped me develop fine skills, while also working with tools to create the right conditions for plant growth (e.g. electrical wiring and lighting, acrylic boxes, 3D printing).
- Painting: Primarily portraits and figures, painting is one of my favorite ways to relax and de-stress. I typically do not post paintings on this site, due to the number of them.
Recent Projects
Bookshelf with display case
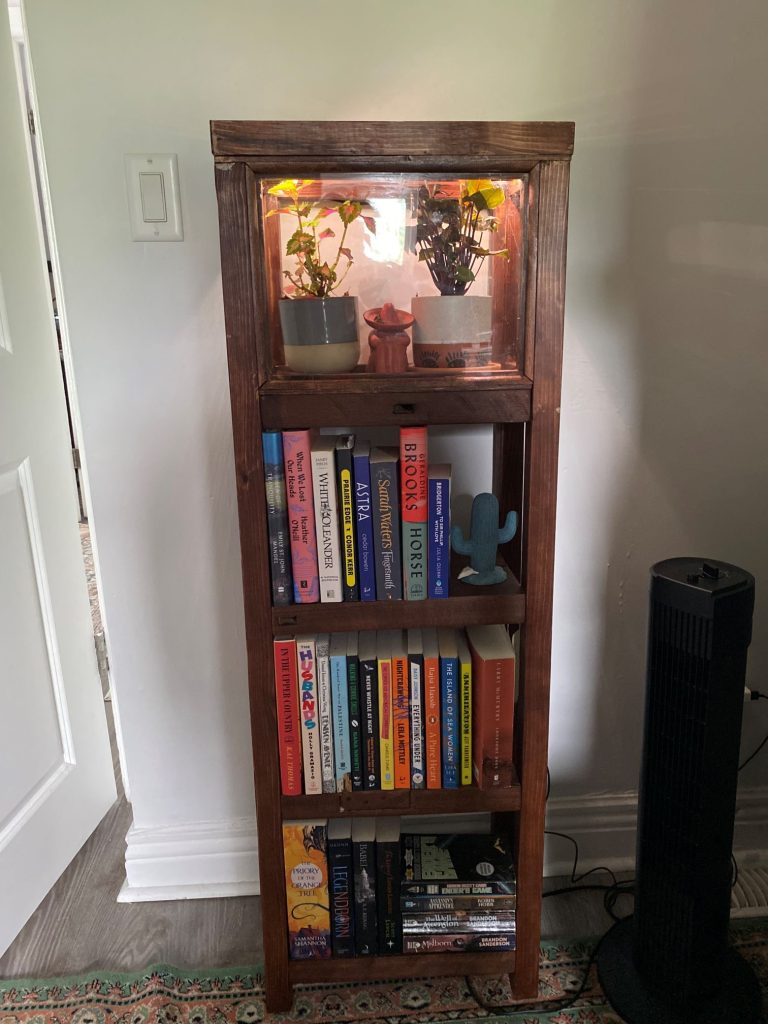
The process
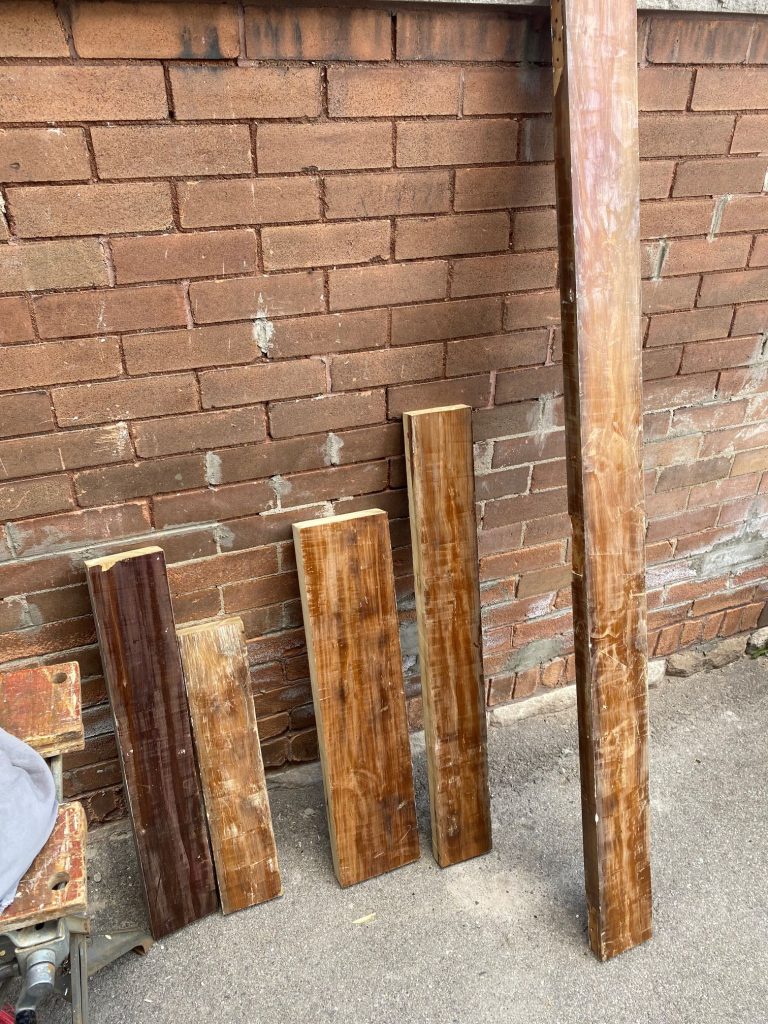
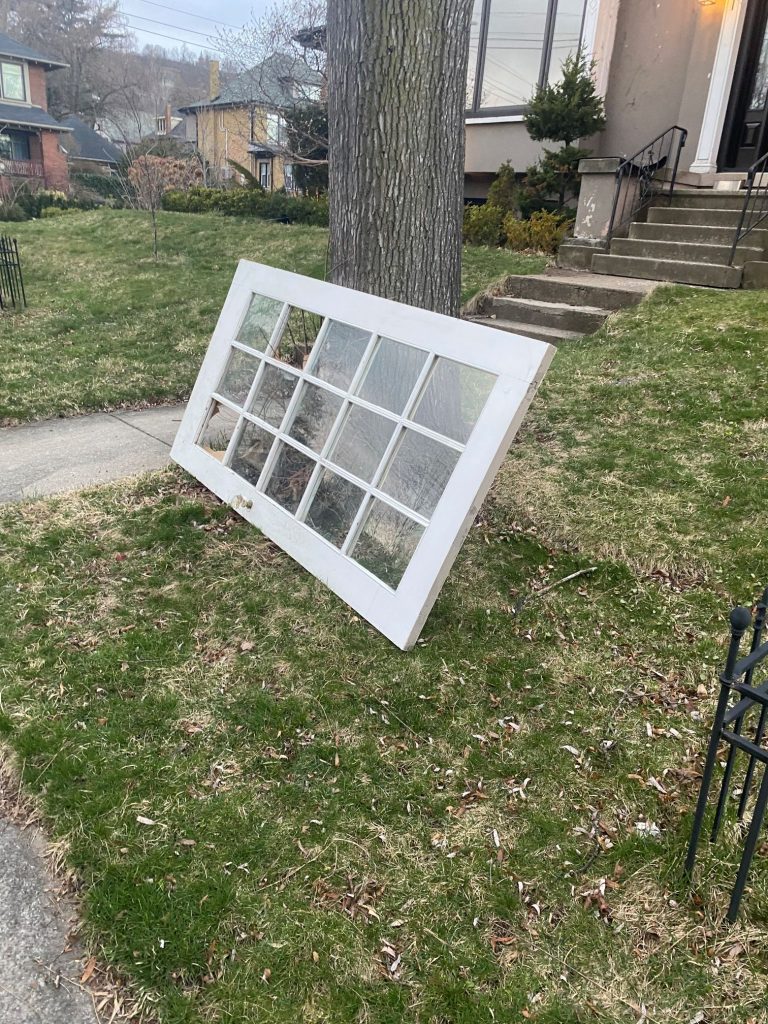
This bookshelf started as a door that was being thrown out in my neighbourhood. I removed the glass panes, cut the door into manageable chunks and then removed the paint using a heat gun and scraper.
The remaining wood from the door was used for the shelves in this project, and for the primary wood in the pedestal terrarium below. The rest of the wood for this project came from standard 2″x2″x8′ and 1″x1″x8′ pieces of pine. To help address design challenges, I created a basic CAD model to develop a digital prototype to test different solutions.
The shelves are secured with counter-sunk wood screws and glue.
The glass enclosed top was made using some of the glass from the door, which I cut to size. Each pane is mounted using some 1/4″ rounded molding and a piece of 1″x1″ trim to secure the glass, each secured with glue and brad nails. The lid was constructed using 2″x2″ pieces joined at 45-degrees.
The wood was finished with a dark, red stain and given a quick coat of poly for protection.
The lighting in the top is mounted on angled pieces of the trim, with a LED strip and wired into a USB power cable. Grooves were cut into the wood to allow the wire to pass through and keep a a tight fit around the lid.
Expand for tools used
- Circular saw
- Speed Square
- Mitre saw + box
- Powerdrill
- Heat Gun + scraper
- Palm Sander
- Brad Nailer
- Glass scorer
- Soldering iron
- FreeCAD
Expand for some pictures of the source materials

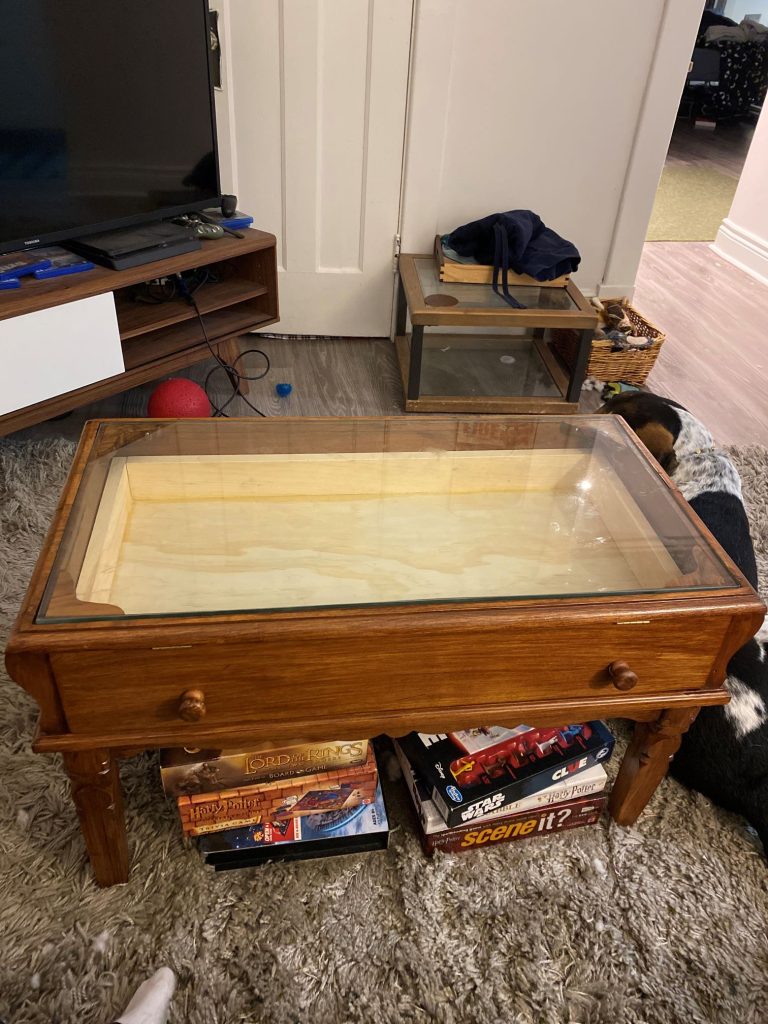
Terrarium Coffee Table
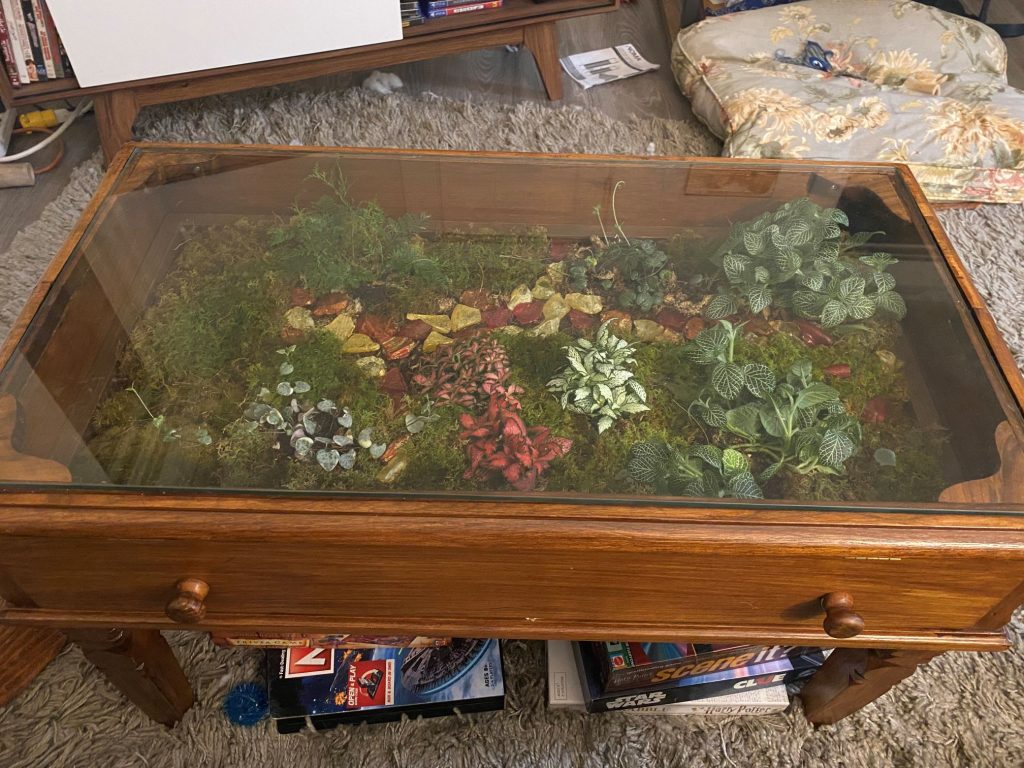
The process
The coffee table itself was found at an estate sale, in great shape. The only repairs and maintenance to the table itself was to re-attach a small portion the top molding using some finishing nails and a couple pre-drilled holes. For good measure, I also sanded down and re-sealed the inside of the table for moisture protection.
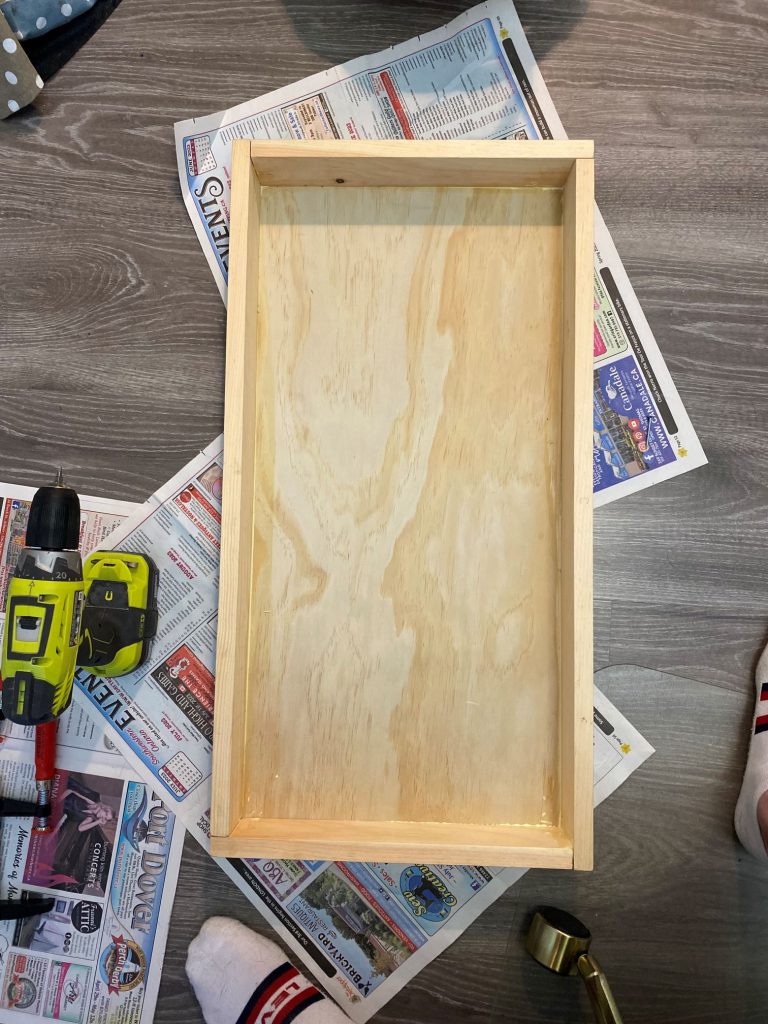
To hold the plants, I constructed a basic plywood and board box (see below). Using basic butt-joints, wood glue and wood screws, I made it to be watertight by minimizing gaps and sealing it with the same varnish as the inside of the coffee table. For good measure, I added a clear silicon caulking along the primary seams.
Once everything was dry, I tested the box for it’s ability to hold water. After holding 1″ of standing water for 2 hours – more water than it would need to hold – it was ready to fill with plants and soil.
During the initial periods, mold began to form and some plants struggled to settle into the home. After some research and testing it was clear that the table had insufficient air flow. The solution was to drill air holes along the short edges of the table (not pictured here). Since then, there have been no mold issues.
Expand for tools used
- Mitre saw + box
- Powerdrill
- Sandpaper
Expand for some pictures of the box
Toy Machine Terrarium
The process
I found the toy machine at an antique mall, for sale without the key to access the coin return. It had all of its working parts otherwise, though some were quite worn. The original acrylic panels were also quite worn, scuffed and stained with dirt and glue.
To create the right conditions for a terrarium, some work was done to adjust the inside. I took apart and cleaned all of pieces. Two internal pieces – one plastic and one aluminum – formed the majority of the internal mechanism that held and delivered the previous contents. Using a dremel and cutting disk, I was able to remove the plastic components sticking into the middle of the machine. My sister-in-law works in welding and was able to do the same with the aluminum piece. Finally, I adjusted the inside (non-permanently) so that the coin mechanism would turn without a coin.
To hold plants, this project was the right size to use acrylic for the box. Using a laser cutting machine at a local makerspace, I cut clear vinyl to replace the original worn-out panels – adding air holes to prevent mold build-up. Red vinyl was used to match the box to the machine. The box was assembled using waterproof all-purpose glue, and seams were sealed with silicone.
The final LED light strips were added to give the terrarium the ability to survive in environments with no natural lighting. Lights were soldered and sealed using heat shrink for a clean finish. Cables are managed via clips attached to the machine, avoiding ruining the clean lines.
Expand for tools used
- Laser cutting machine
- Soldering Iron
- Dremel
- Screwdriver/Drill
Expand for a picture of the original machine
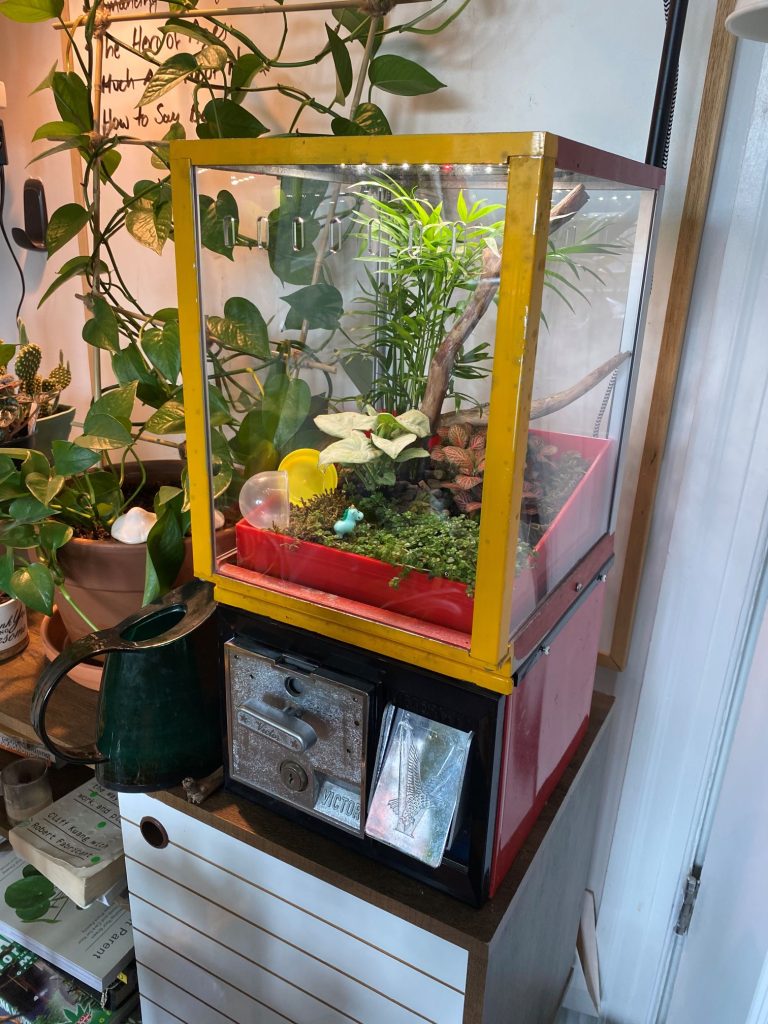
Bubble Gum Terrarium
The process
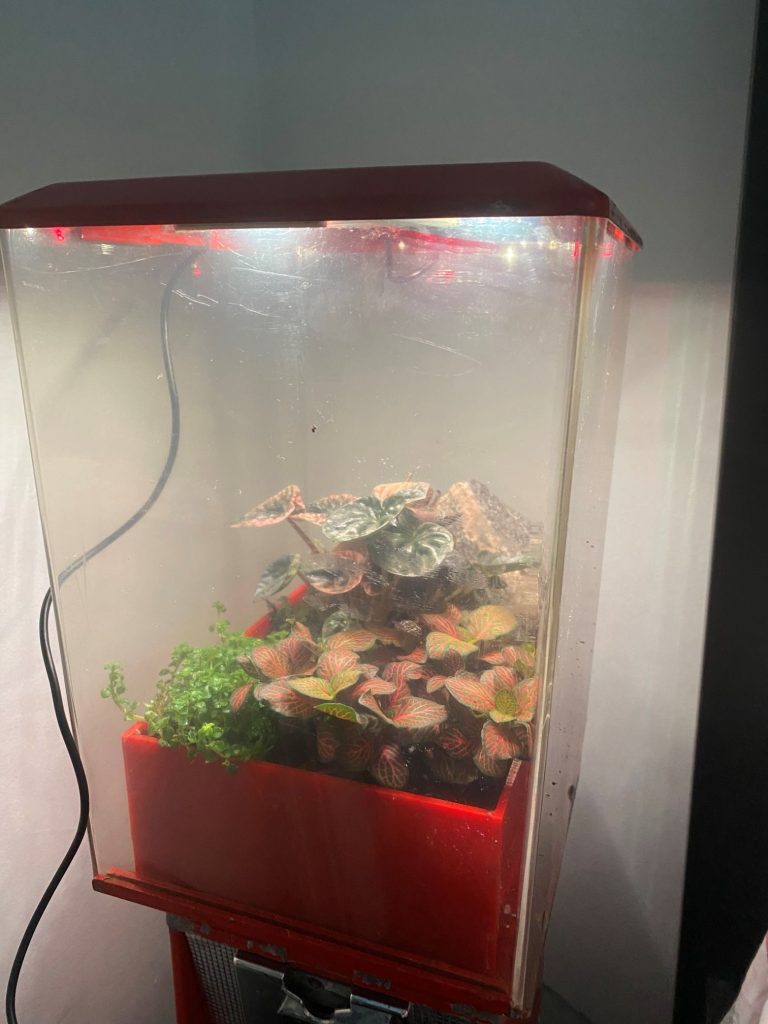
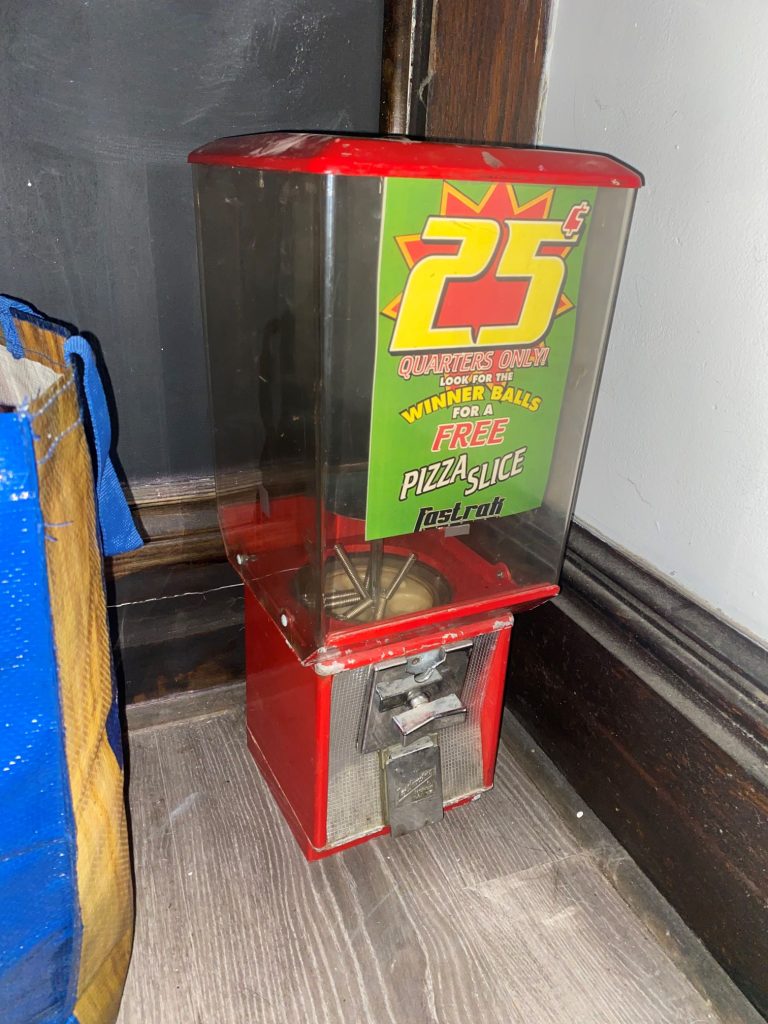
Gifted this bubble gum machine by a very kind neighbour, the goal was to see how it would fare as a terrarium. Luckily, this machine was in pretty great condition, with the only challenges being that the machine was locked without a key.
The machine was held together entirely by the lock, which attached to a shaft that extended all the way through the machine. When I had the lock drilled out the machine lost the force holding it all in place. After exploring some options of securing the pieces all together, I chose used loops of wire to secure it all in place. This way, nothing has been permanently modified and it can be returned to working order with just a new lock.
Since I was not cutting out all the internal machinery this time, the acrylic box rests on top of the machinery. Due to the angles of the box, I did have to use a Dremel to sand off corners to ensure a larger contact surface area for the glue to adhere to. The box was assembled using waterproof all-purpose glue, and seams were sealed with silicone.
Expand for tools used
- Laser cutting machine
- Wire cutters
- Dremel
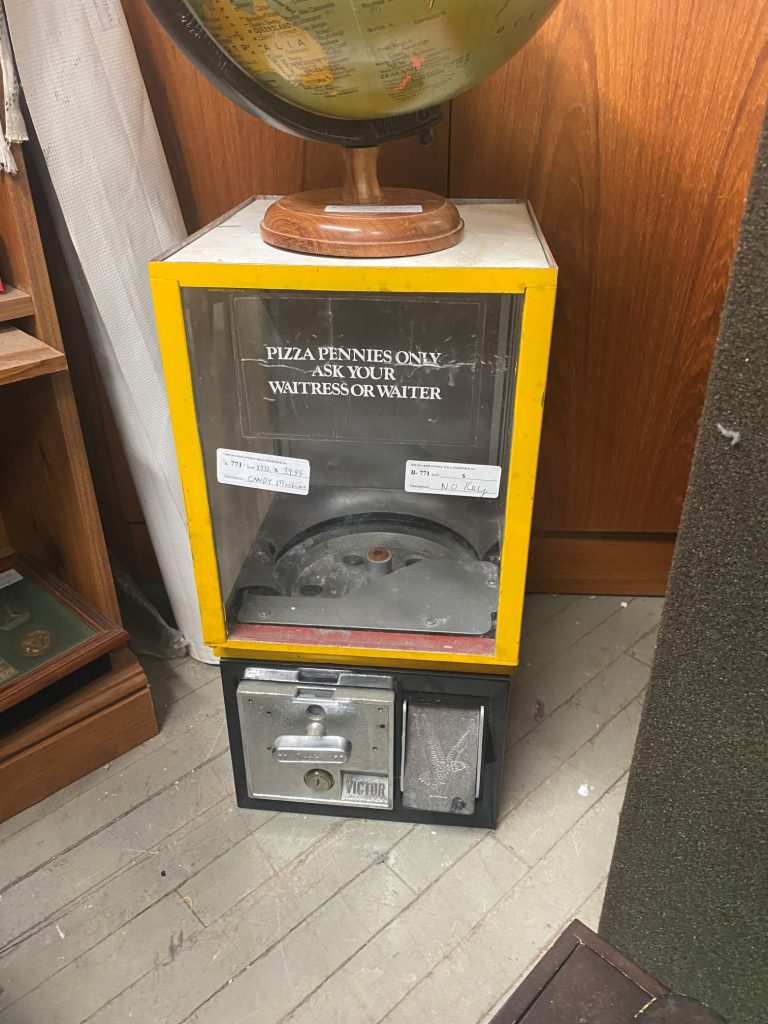
Expand for a picture of the original machine
Small bookshelf
The process
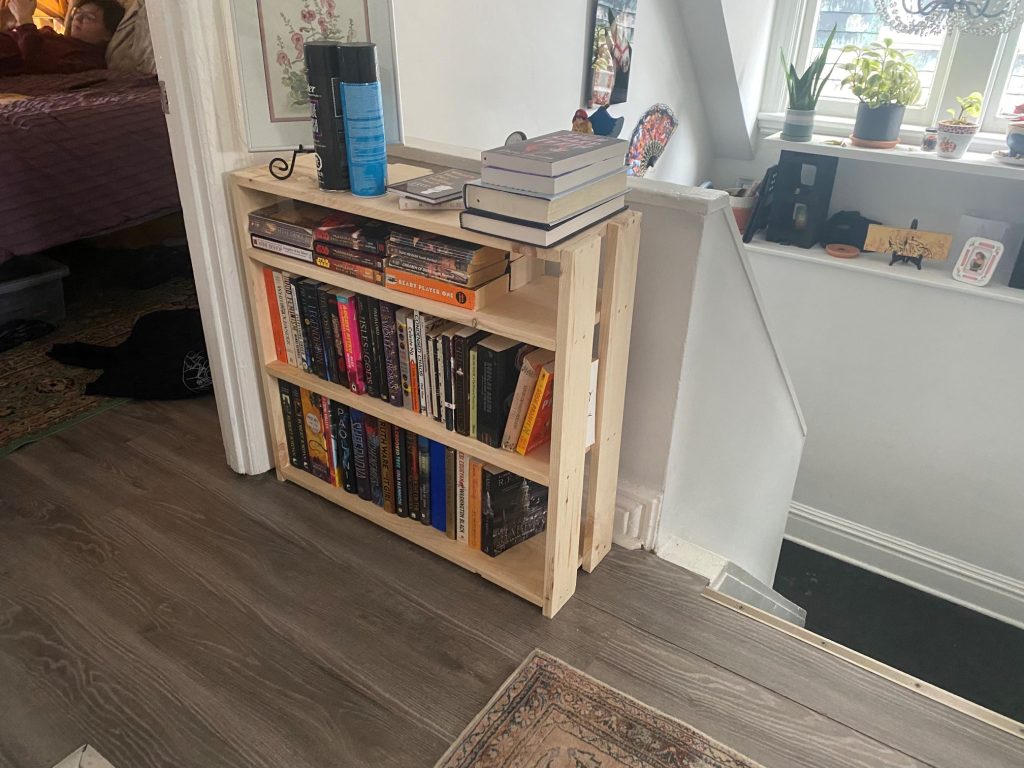
This bookshelf was a project to re-introduce myself to a number of power tools. The wood is all pine (1″x10″x8′ and 1″x3″x8′).
The design for the bookshelf was simple, following a the dimensions I set via a basic drawing of the bookshelf. Shelves are attached to the supports using butt-joints.
Expand for tools used
- Circular saw
- Speed Square
- Powerdrill
- Palm Sander